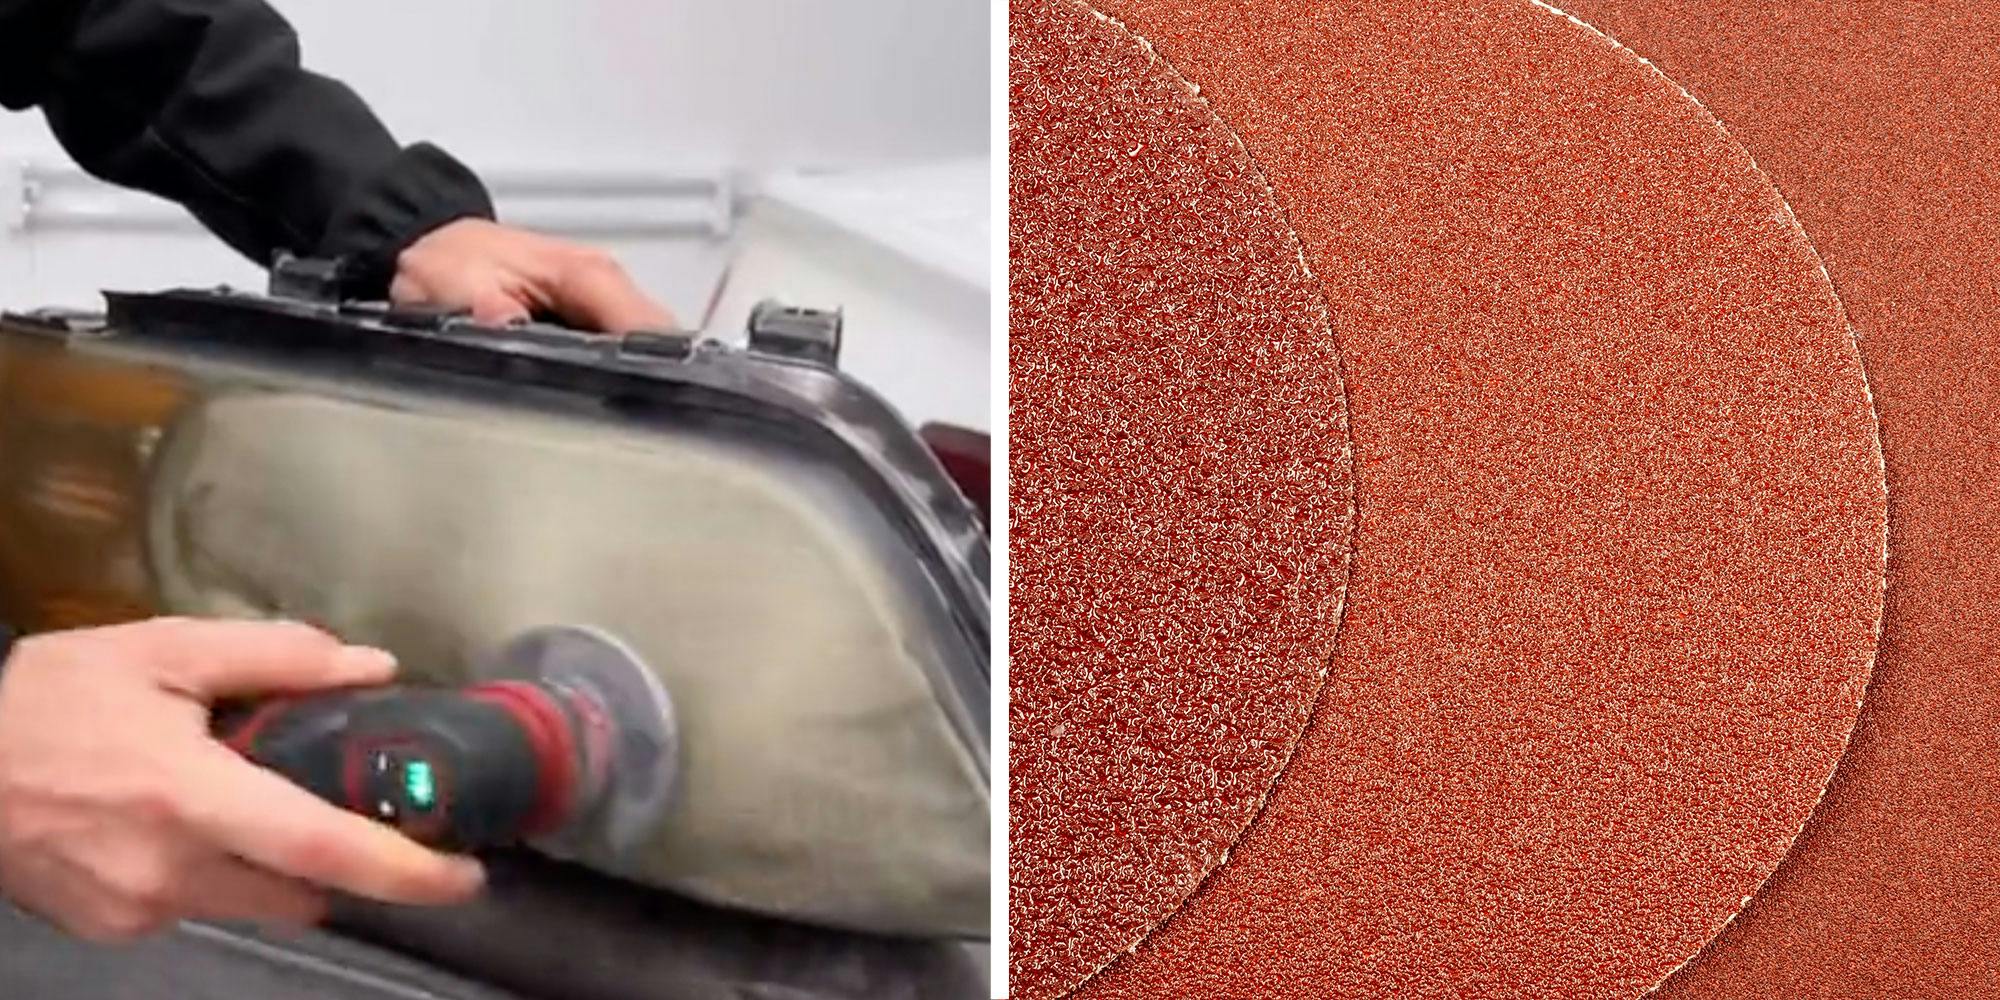
‘Thanks bro’: Expert shows faded headlight. Then he shows DIY hack to fix it

If your headlights are dim and you're looking to restore them, there might be an easy fix awaiting in your garage.
Via Lemon8, creator Don (@modernvehiclecare) boasts of a "DIY Fix," as the on-screen caption to his video reads, to showcase what can be done to revive headlights. The video went up on the platform, which is currently gaining favor with people looking for TikTok alternatives, on Friday.
In it, the creator shows the use of a palm sander on the plastic lens of a headlight, touting it as a "fast fix." Per the on-screen captions, a 320-grit piece of sandpaper should then be followed by a 400-grit piece of sandpaper.
Then, with soap and water used intermittently on the headlight, there's a progression to 600 grit, 800 grit, 1,000 grit, and 1,500 grit. As the video plays out, it's evident that the plastic is getting more translucent, and it's easier to make out the headlights behind it.
It keeps going into 2,000 grit and 3,000 grit, followed by instructions for "polish," "IPA wipe," and "ceramic."
The difference from start to finish is dramatic.
Is this a good idea?
On the Reddit forum r/cartalk, Redditors discussed their techniques for reviving headlights via sandpaper—providing further evidence that it can be done.
"I've restored headlight lenses on quite a few cars," one boasted. "Here's what I do and it works very well with the minimum work."
The key is to "soak the sandpaper in water for 15 minutes. While it soaks, tape and paper around the lenses to protect the paint."
Then, "Using the dry sponge as a sanding block, start with the 400 grit and sand in the same direction to smooth the surface and remove any pitting. Spray the lens to keep it wet while sanding. When it's smooth to the touch with no perceptible imperfections, you're done with that grit. Wash down with water and wipe dry. Sandpaper steps only take 2-3 minutes at the most."
From there, that commenter advised repeating those steps with 1,000-grit and 1,500-grit paper.
"You can do this by hand, but a DA [dual-action polisher] makes life a lot easier," that person instructed. "Load up a damp pad with rubbing compound and begin polishing. Should take 5 minutes with a DA, about 15 minutes by hand. You are done when the lenses are clear of visible sandpaper marks and cloudiness. Wash with water and dry."
"Load up a pad with polishing compound and repeat," that person adds. "You are done when the lenses are crystal clear."
From there, you should wash it down with water, buff it with a microfiber cloth, wipe it down with alcohol, and then use the polisher again should there still be any cloudiness. Upon your own personal satisfaction with the project, you should let it dry for an hour.
An alternative approach
That forum brought another perspective to the forefront: Namely, why do all that work?
"I did this once on a previous Ranger I had. I can't help you with your grit values, though, because I used a kit. Sorry," that commenter said. "I will say this, though. I got another Ranger and was thinking about doing the same thing. Just out of curiosity, though, I checked eBay. Two new headlight lenses, with bulbs: $38."
That person then added, "Food for thought."
Despite that advice to not do it yourself, one commenter on the Lemon8 video was appreciative, simply saying, "Thanks bro."
In a message to the Daily Dot, Don said, "It takes about 20-30 minutes to complete, it’s a process I learned about 15 years ago when I started detailing cars."
Internet culture is chaotic—but we’ll break it down for you in one daily email. Sign up for the Daily Dot’s web_crawlr newsletter here. You’ll get the best (and worst) of the internet straight into your inbox.
Sign up to receive the Daily Dot’s Internet Insider newsletter for urgent news from the frontline of online.
The post ‘Thanks bro’: Expert shows faded headlight. Then he shows DIY hack to fix it appeared first on The Daily Dot.